
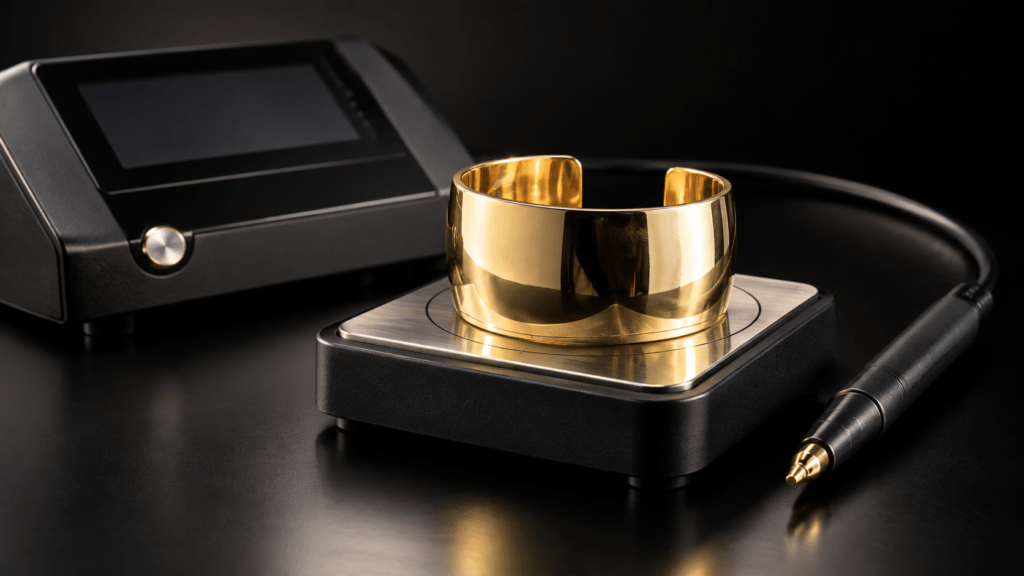
Start by matching your AuRACLE Analyzer to its own instructions. “AuRACLE” is a product-family name, so borrowing a calibration routine from another model can introduce a mistake before the first test.
Identify your controls
The GemOro-authored Analyzer guide identifies a combined Power/Calibration button, screen, test plate and pen probe. That differs from the PRO’s separate control arrangement. Compare the diagram with your instrument, including the model label, before continuing.
If the controls do not match, obtain the correct manual from the supplier. A retailer’s broad description is useful for shopping, but it should not determine which button you hold or which reference you use.
Establish the reference first
Install the specified power source, connect the correct probe fully and switch on. Use the known yellow-gold reference specified by your exact manual, then follow its calibration prompts. Do not substitute an unidentified stamped item.
A useful learning session has three stages: establish the reference, check known samples, then examine unknowns. Keep a simple record of which samples you used. That lets you distinguish an unfamiliar alloy from an instrument that has stopped behaving consistently.
Prepare and observe the jewelry
Inspect the test location under magnification. Look for coatings, dirt, joints and areas too small for controlled contact. Follow the manual’s surface preparation method, obtaining permission before any action that leaves a mark.
Place the piece securely on the test plate and make probe contact as directed. Let the indication settle. Record the displayed result together with the location tested, rather than writing a purity claim about the entire item.
For a chain, the clasp alone is not a complete sample of the chain. For an earring, a post and decorative body may require separate consideration. These are reasons to investigate construction, not to press harder with the probe.
Know when to stop
If a known sample becomes unreliable, pause work on unknown items and check the setup. Keep the probe protected between sessions and follow the manual’s maintenance directions. A session that ends with “needs further testing” is more useful than an unsupported conclusion.
Gold Kings recommends a short, consistent checklist beside the instrument. Once you can repeat the known-sample routine comfortably, the Analyzer becomes easier to use without confusing speed with certainty.
Explore the relevant products
Check the exact model, seller, package contents and current offer on the linked product page before ordering.
Sources and further reading
Explore more Gold Kings buying guides.
As an Amazon Associate I earn from qualifying purchases. The product pages linked in this article contain Amazon affiliate links. This guide is based on published specifications and practical buying considerations, not a controlled hands-on product test.